
Anyone can view the public pages on the Commons. However, there are various privacy settings for Sites and Groups. If you choose a more private option, students will need to register for the Commons. If you choose the most private options (visible only to member of the group/site) students will also need to join your group or site. For more information on Privacy Settings see here.
After you send the invitations, students will have to register for the commons before becoming a member of your group or site. A caveat: if students register for the Commons and return to the original invitation email and click the link again, they will be automatically added to the group or site you invited them to join. Or, they can find your group or site in the directories in the main menu on the Commons. Click here for a downloadable Quick Guide for students on Joining a Group or Site
Invitation Process
There are three ways to enter the Invitation portal:
- In your Group, click Send Invites in the gray menu bar on the left.
- In the Dashboard of your Site, click Users > Add New.
- Hover over your avatar in the top right corner of your browser screen, and scroll down to the Send Invites at the bottom of the menu.
You will see the screen below, Step 1 “Select People.” Here you have two options. If you know that your students have already joined the Commons, you can type their full name or username in the “Invite by Name” field (you’ll see it populate as you type). Or you can fill in students’ CUNY email addresses, one per line, in the “Invite by Email” field.
Bulk Invite Tip: You can enter a list of the emails, on per line no comma or semicolon separator, and do the process in one shot.
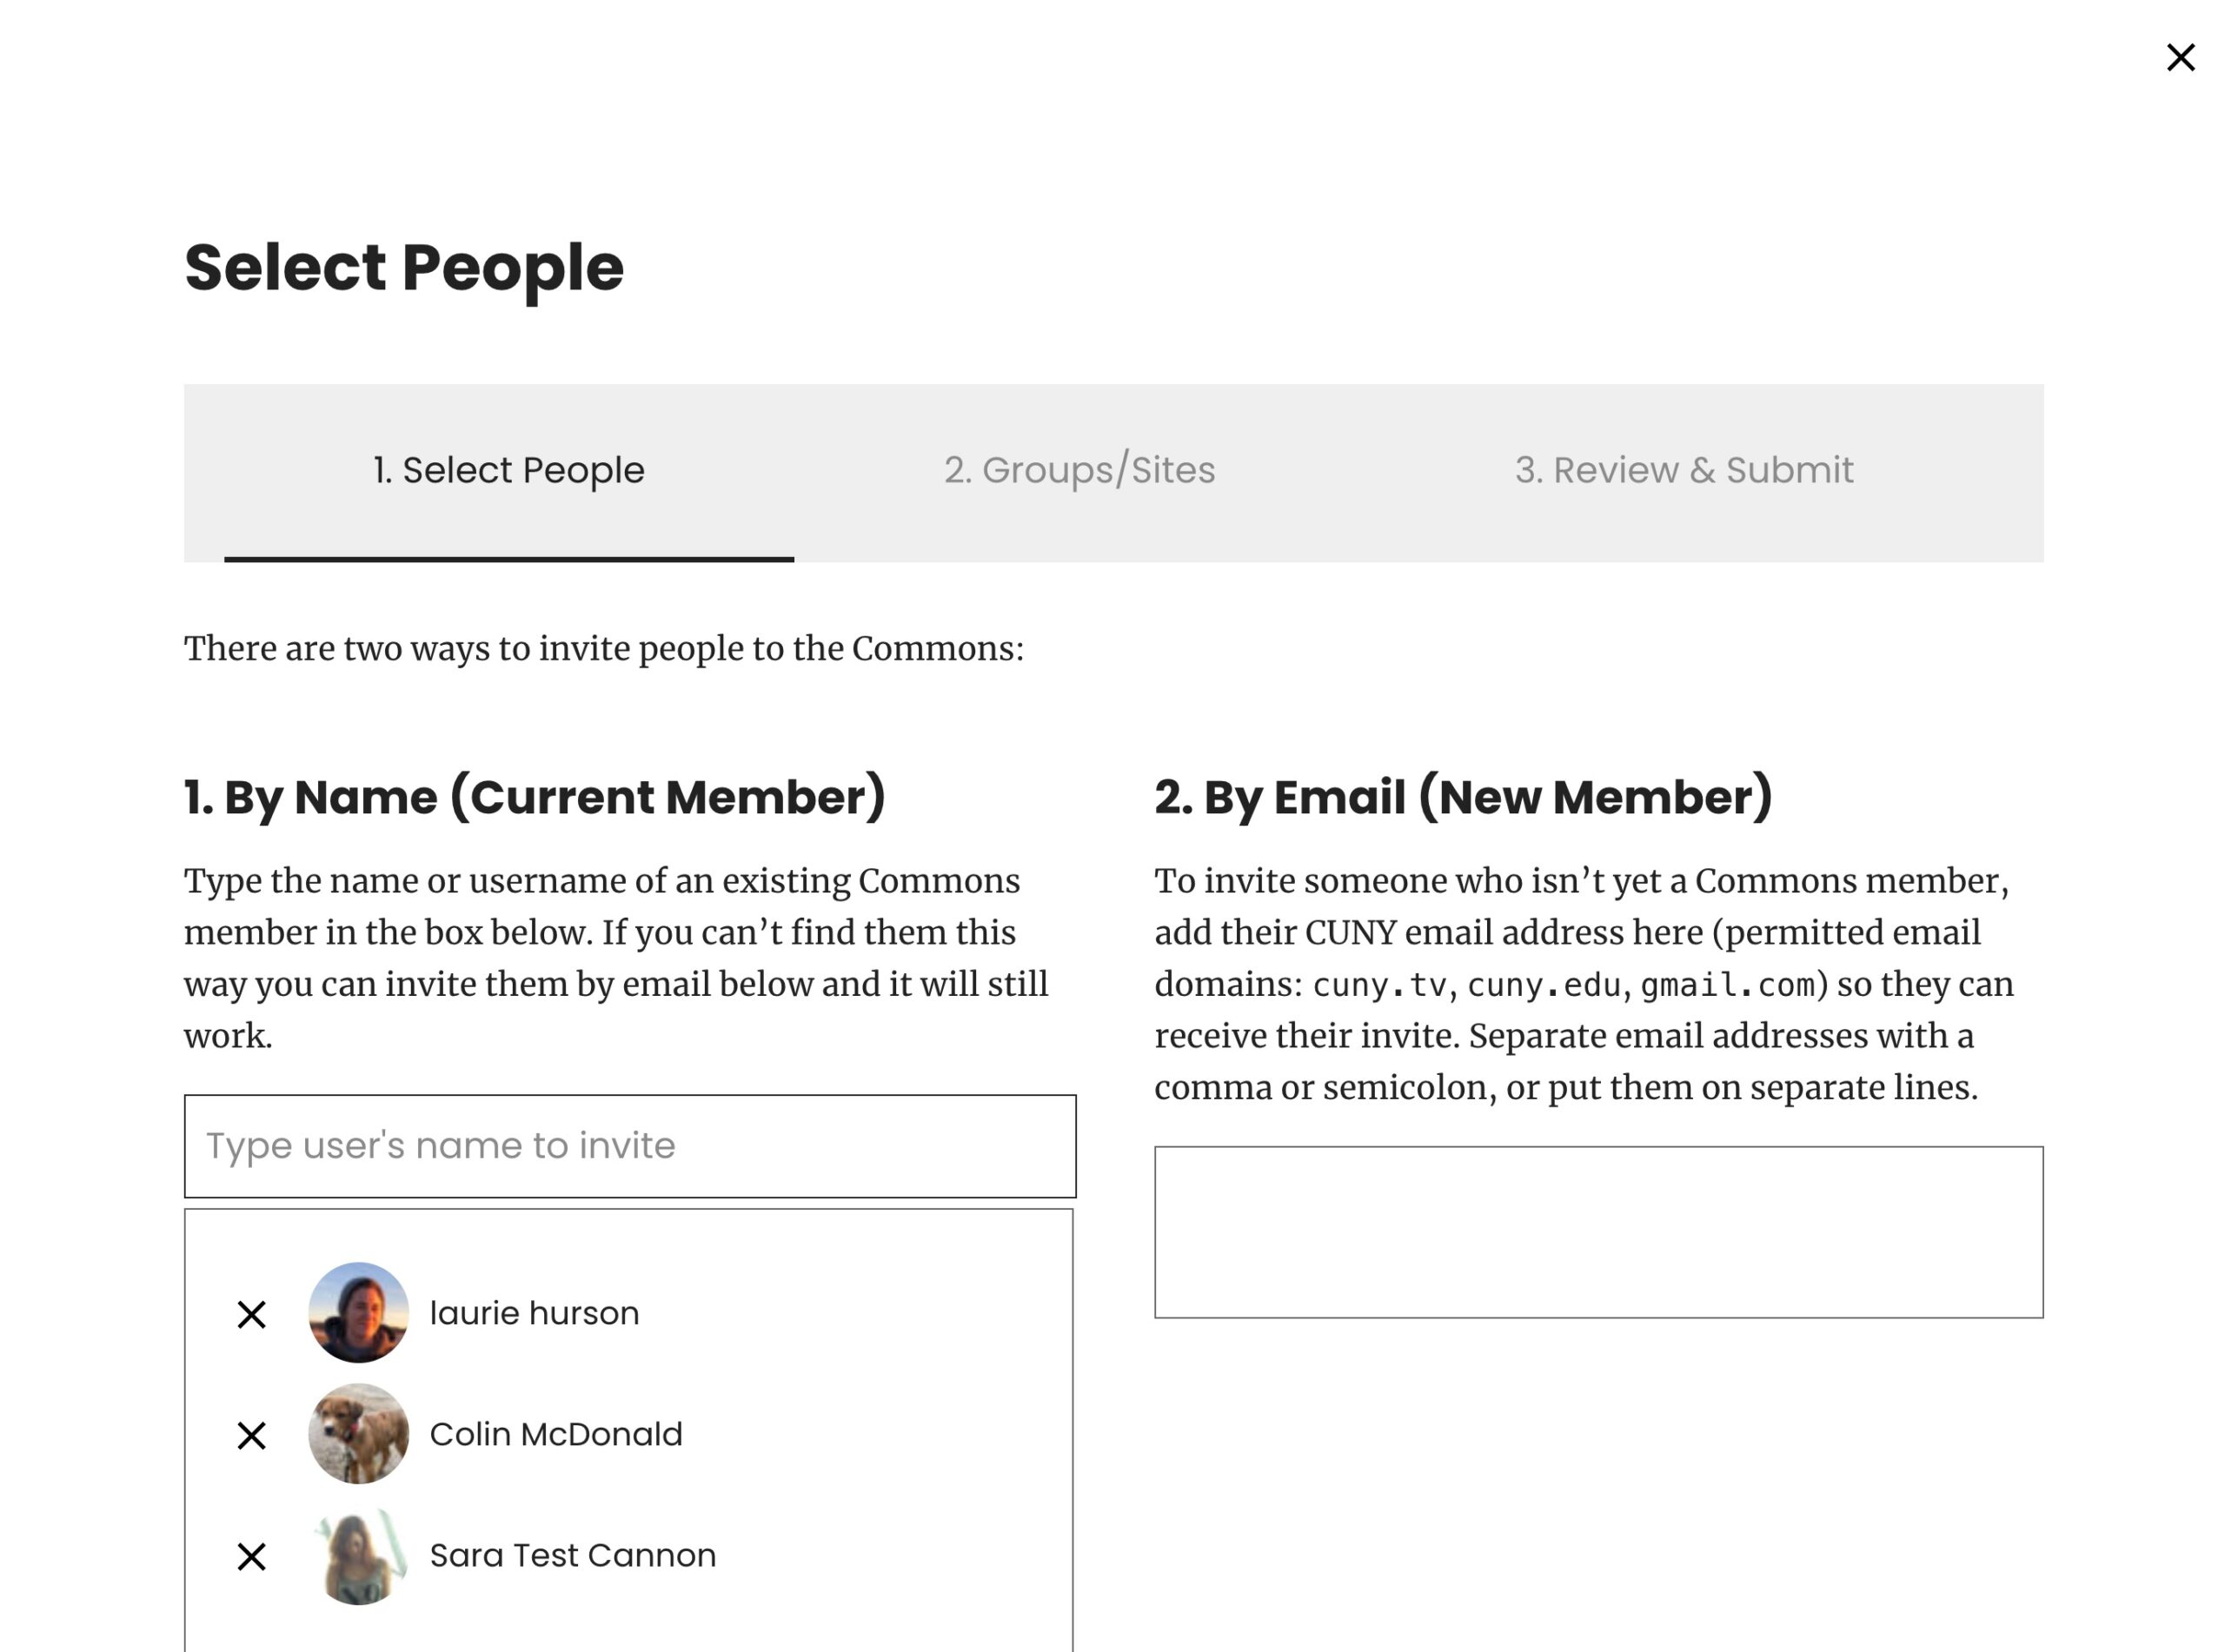
Then click Next.
Step 2 “Membership” is the place where you designate which group or site you are inviting students to Join. Typically invitations are for a single group or site, or a connected group site.
Click the box next to the names of the groups or sites, and set the role of the person you’re inviting on the right. Typically students are added as Authors on sites and/or Members of groups. This gives students the ability to create blog posts or contribute to discussion but not the ability to change the site or group in any way.
More information about User Roles can be found here.
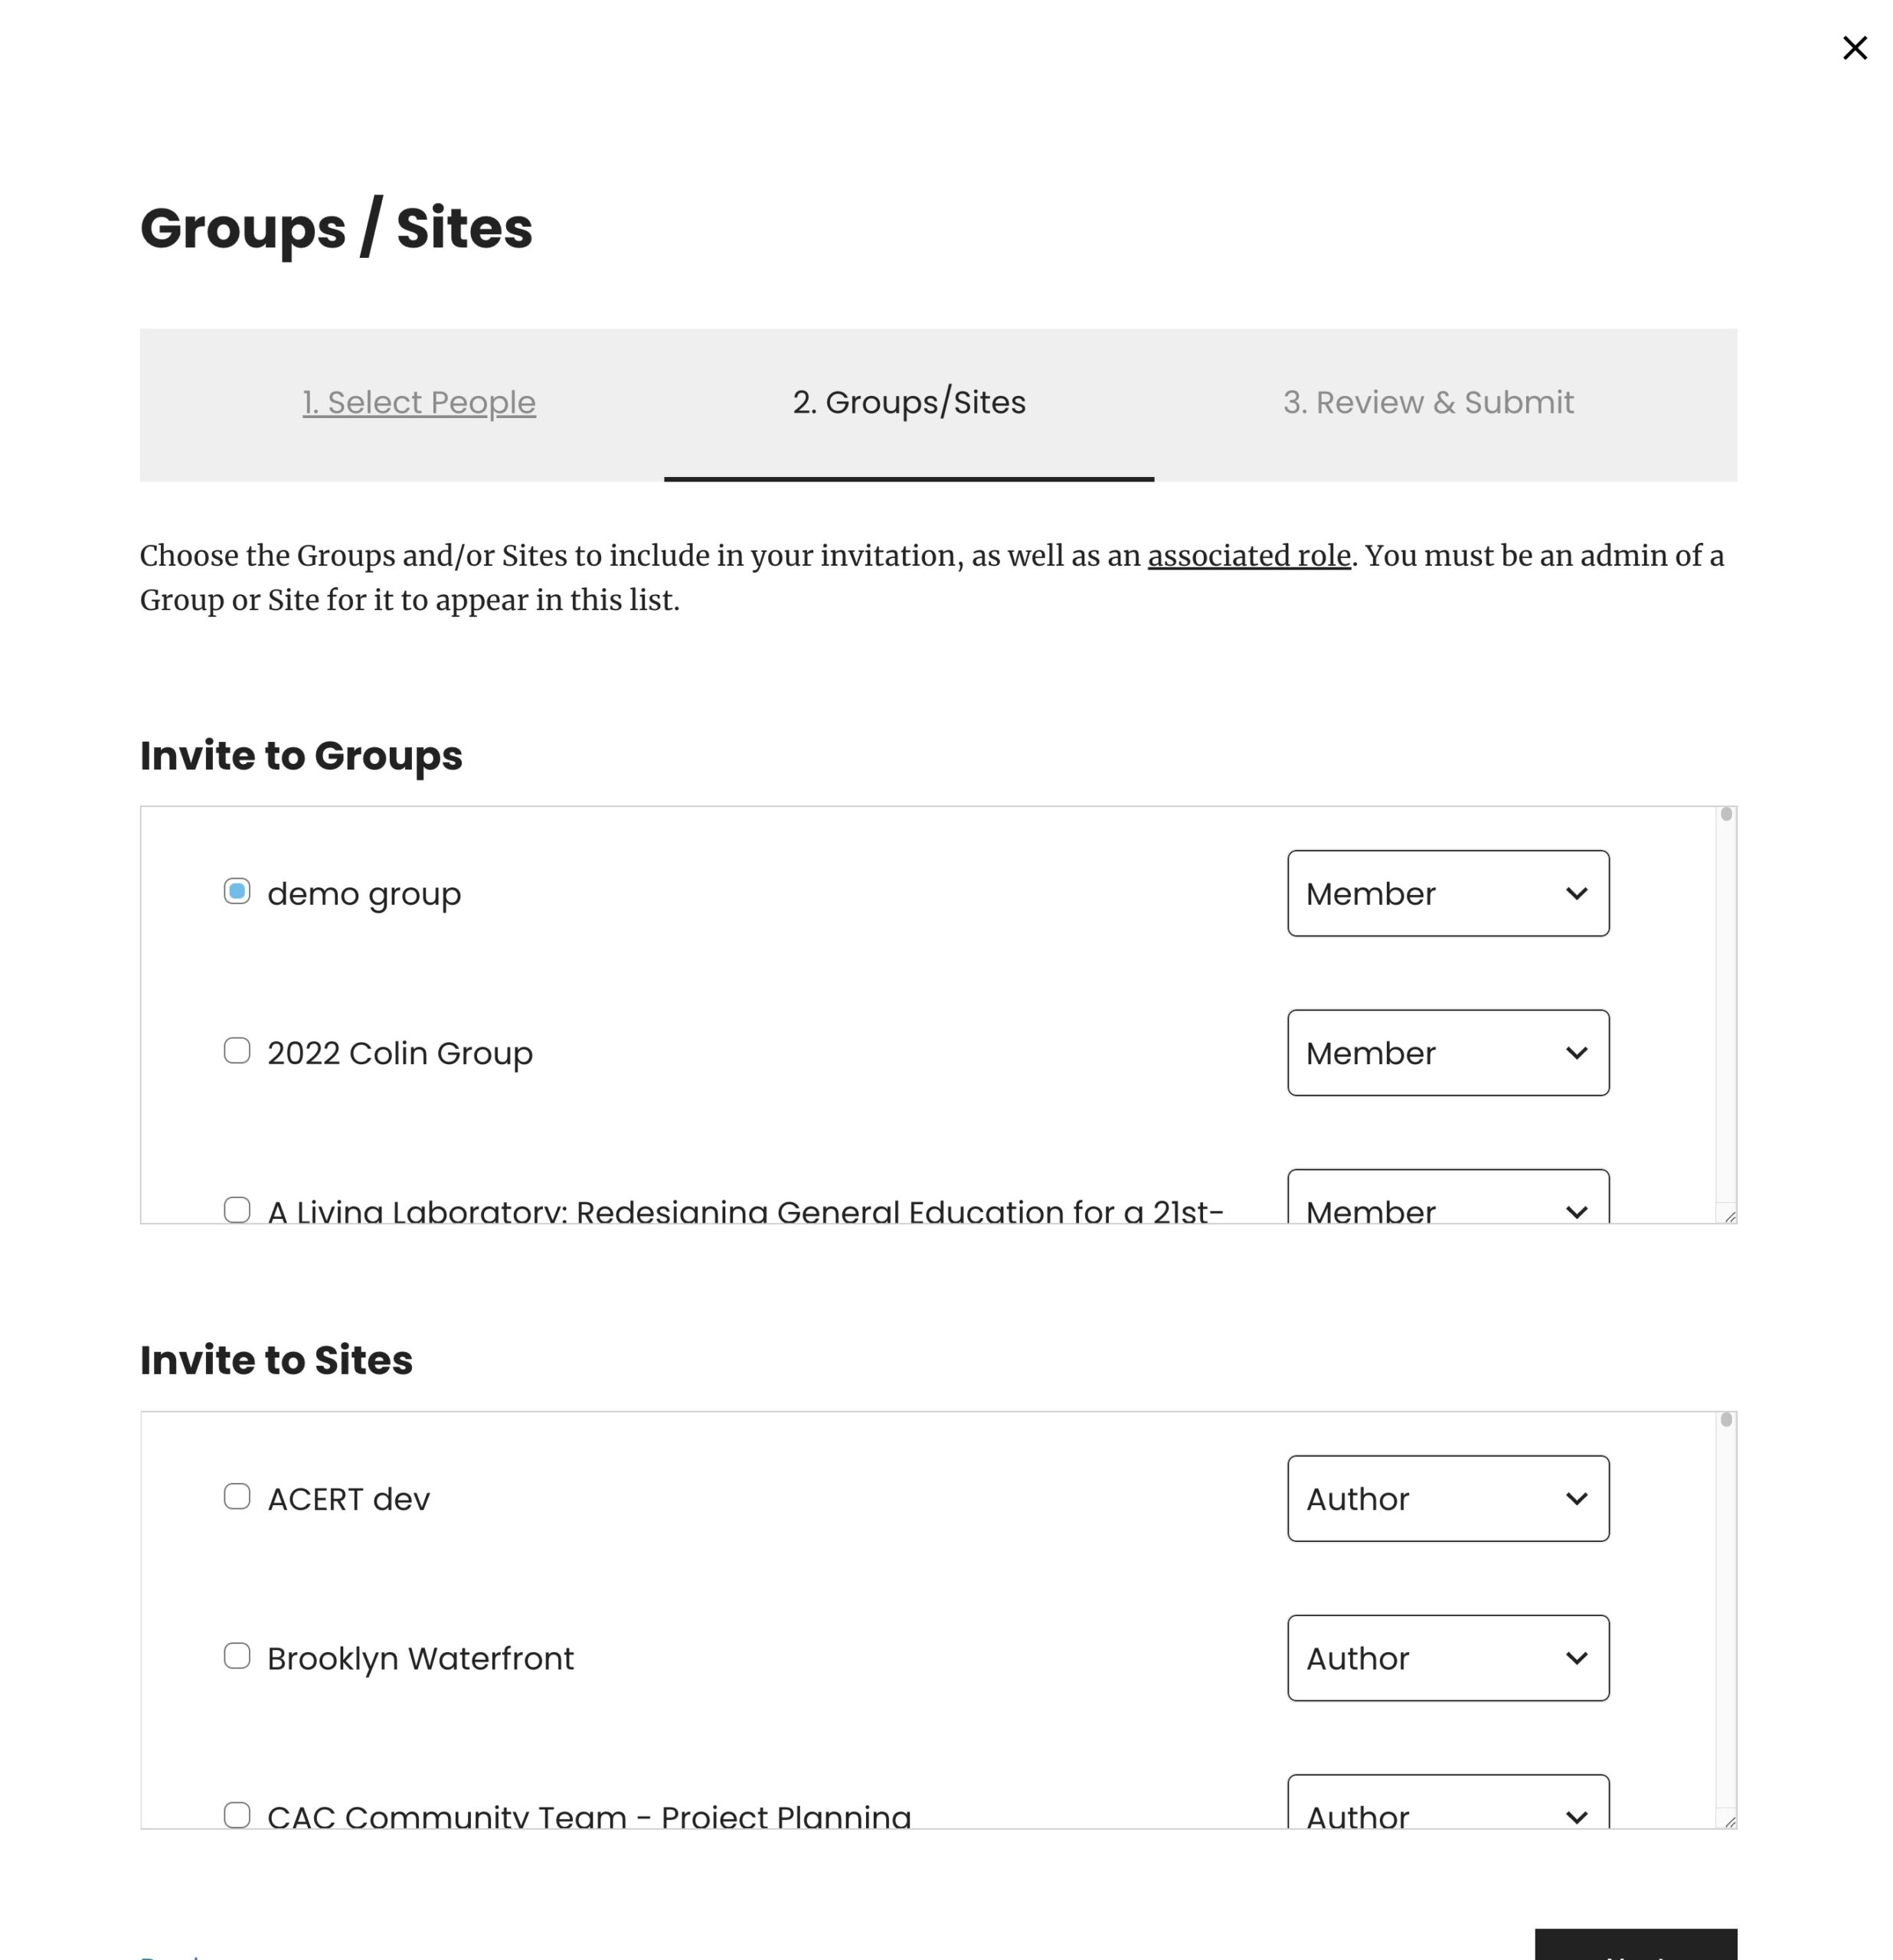
Click Next again.
Step. 3 “Review and Submit” shows you who you have invited and where. Use the “Add a Message” box to let students know who is sending the invitation and why they are being invited to the Commons.

Click Submit.
Success

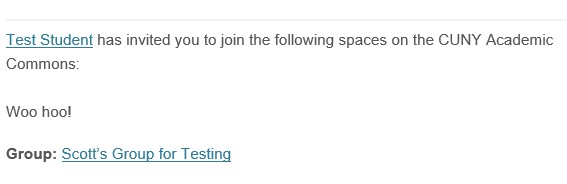
Your invitees will have an email automatically sent to them, with the subject line: “Invitation on the CUNY Academic Commons.” Here’s an example:
Please let us know if you have any difficulties or questions at the Commons help desk – [email protected].