Social Sharing Buttons

Often, site admins want to show social buttons on their sites so that readers can easily share content. There are a number of options available on the Commons to do this.

  • Check if your theme has this functionality built in.
    Since social buttons are so widely used, many themes have this functionality built-in. Before you start looking for plugins, check out your theme. You may or may not like the way the buttons are displayed, but there may be options to change their look. There are two places to look:

    • Widgets – your theme might come with a widget that can be configured to show the buttons you want. These would typically be displayed in a sidebar or a footer.
    • Menus – your theme might have a social menu built in. Our default theme, Twenty-Twenty has an optional “social” menu designed to display social buttons in the footer. You can display it in any menu location.
  • DYI – create a social menu and use the navigation widget to display it in a sidebar or footer. This requires a little more work. You will probably want to use icons rather than text.
  • Use a plugin
    • Atomic Blocks – this library of useful blocks has a block called “Sharing Icons“.
    • WP Social Sharing – This is an older plugin, but it is still effective. Best for those who use the classic editor. Buttons appear either on top or bottom of the post.
    • JetPack – Among its multiple uses, this plugin allows you to add social sharing buttons to pages and/or posts. Find this functionality under the “Sharing” tab.
      Learn More About JetPack

      The Jetpack plugin is actually a bundle of plugins that have been developed for WordPress.com.

      Please don’t be fooled! All the plugins are free to use. Many times along the installation process, you will be encouraged to pick a premium plan and pay money to WordPress.com for features that will not be available on the Commons. Make sure to choose the free version of this tool when activating Jetpack.

      Please note that you will need to create a WordPress.com account to use JetPack. You do not need to have a WordPress.com site. Just register here, get your id/password, and you are ready to activate Jetpack.

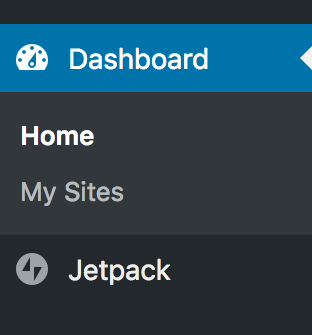
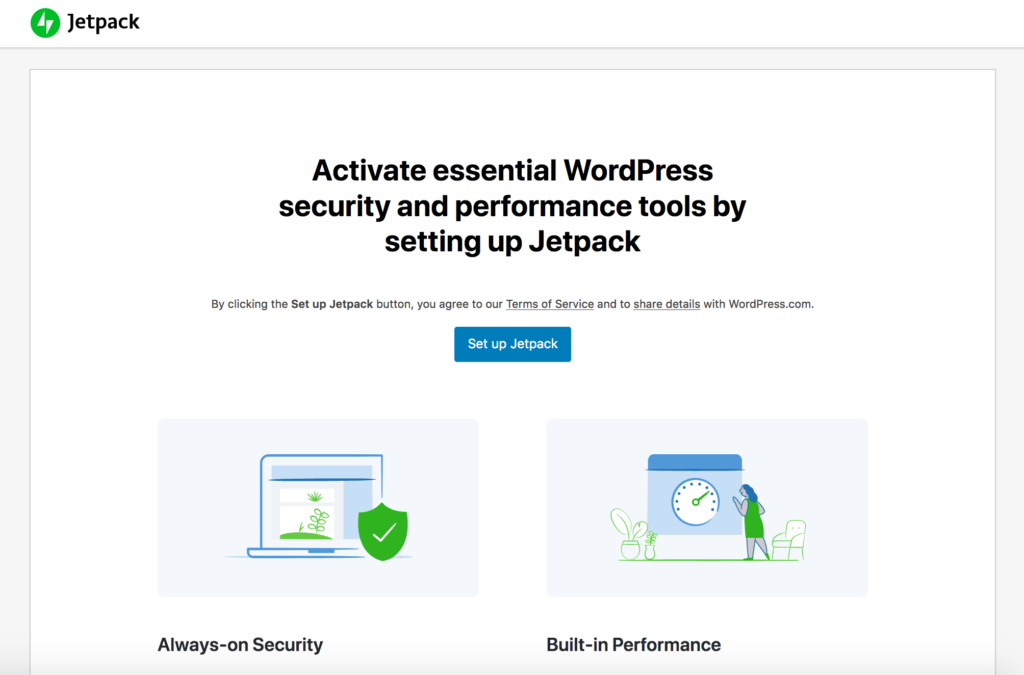
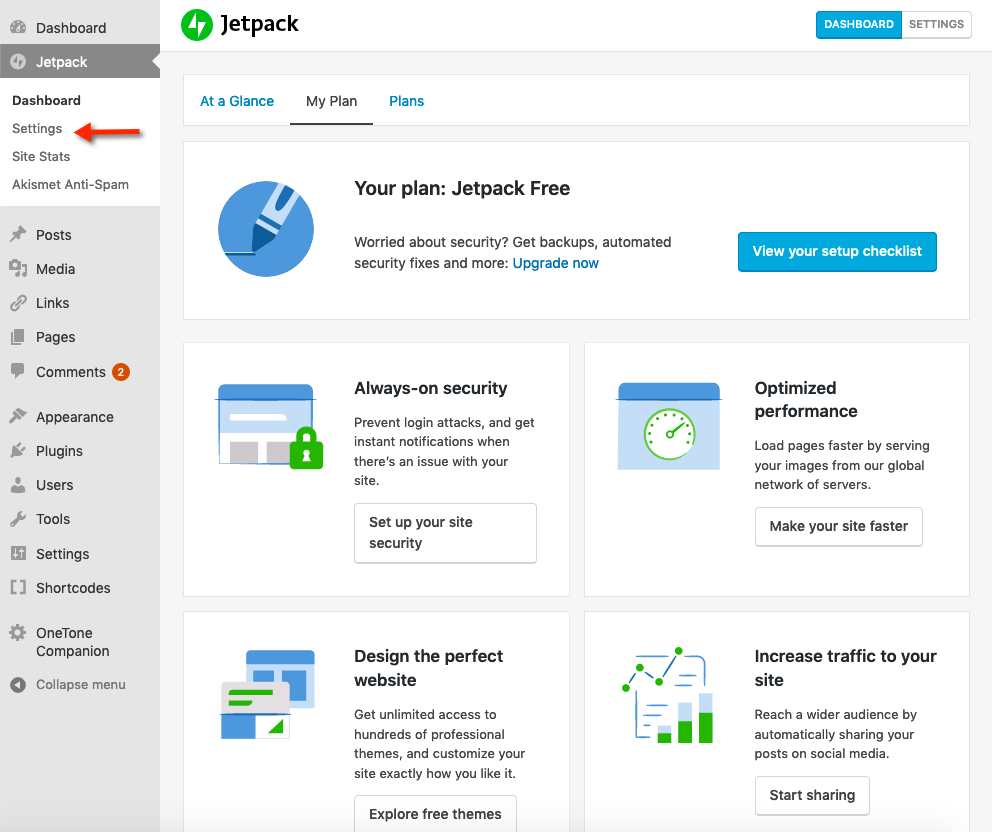
      After installing the Jetpack plugin on your site in the Plugins area, Jetpack will be added to the Dashboard menu (screenshot, right). Visit this Jetpack area in the Dashboard and go through the process to activate Jetpack.


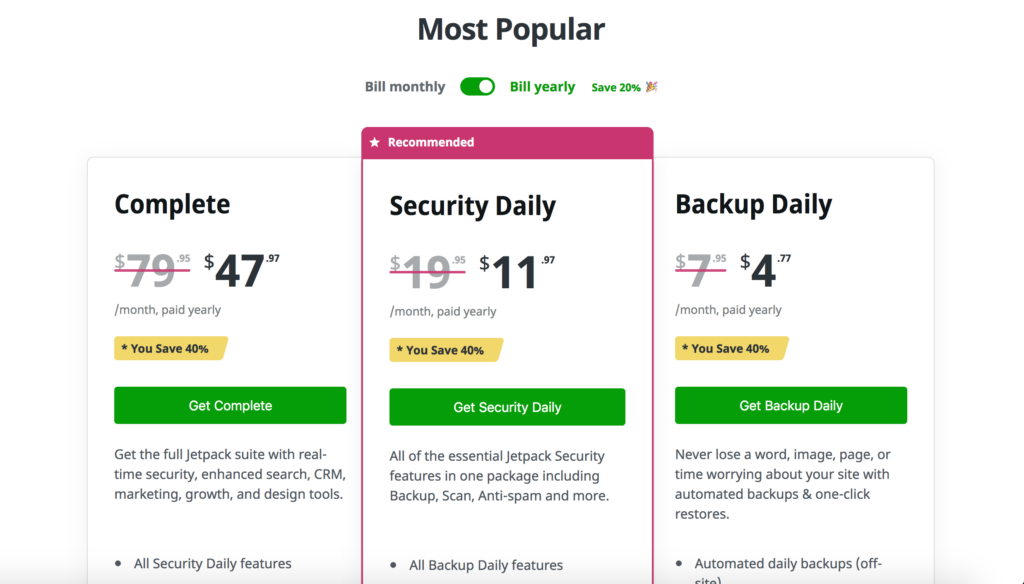
      When activating JetPack, you will see the various paid options but you do not need to pay for this tool. Scroll down all the way and click on “Start for Free” (image below).


      If you have a WordPress.com account and are logged in, once you click “Start for Free” you will activate Jetpack and re-routed back to your Commons Site.

      If you need to create an account, click on the option highlighted above.

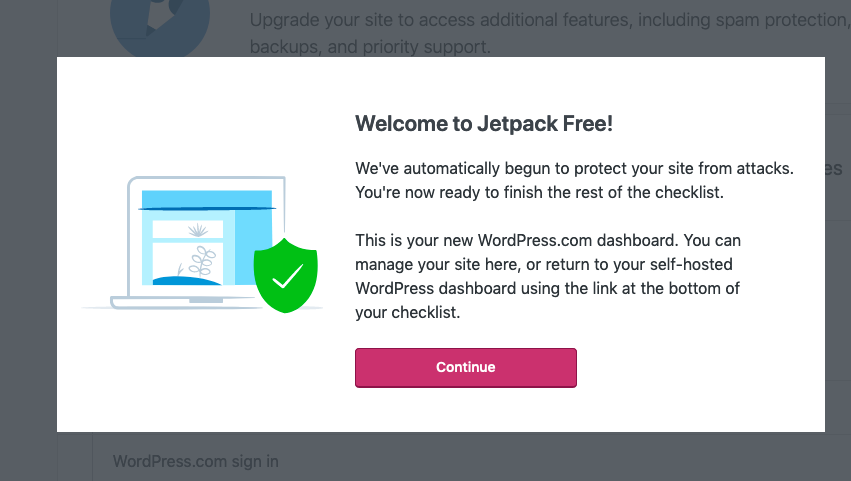
      Once you click “Approve,” you should see the following:


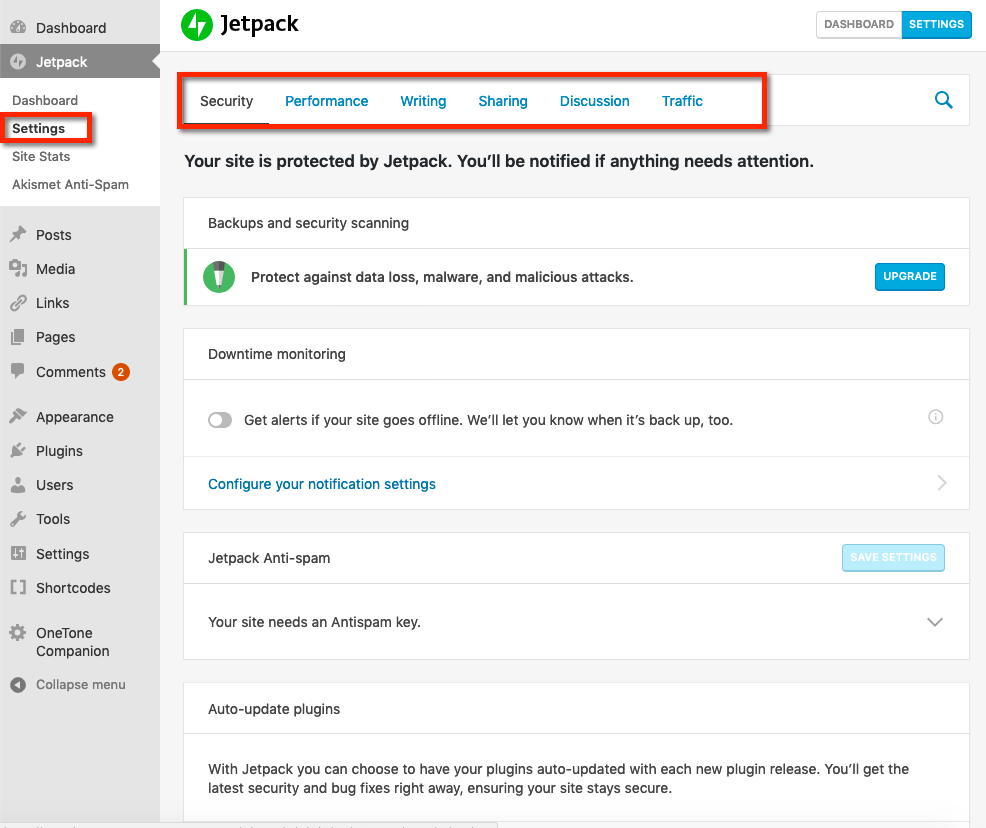
      Then you will see the following section added to your Dashboard. Click on Settings to get started with JetPack.


      Highlighted below are the Settings for the various plugins in the JetPack bundle. Click on each tab to explore the possibilities.

      JetPack provides a nice stats plugin that you can use to track your readers.  It also provides Latex support for mathematical notation, and a bunch of other plugins, many of which are similar to other plugins on the Commons. Many members use JetPack’s “Subscription” plugin to allow people to subscribe to their sites and receive email notifications when a post is published. See more about Subscriptions.


      In Jetpack’s “Sharing” menu, you can  add new widgets to your site  to pull in Twitter an other social media feeds.

    • Share This Image – if you want to only share an image and not the text of your post or page, this plugin is for you.
    • Social Stickers – this is a “Follow Us” widget that is configured to take viewers to your social networks. Buttons appear if you provide the link to your site on Twitter, Facebook, Vimeo, etc. 
      Learn More About Social Stickers

      Interested in showcasing your social media networks on your site? We recommend using “Social Stickers,” a simple plugin that allows you to show which social networks you use. There are over 50 social networks to choose from, including: Twitter, Facebook, Instagram, Tumblr, and YouTube. You can also select from one of five themes, which change the visual style of the social network icons.

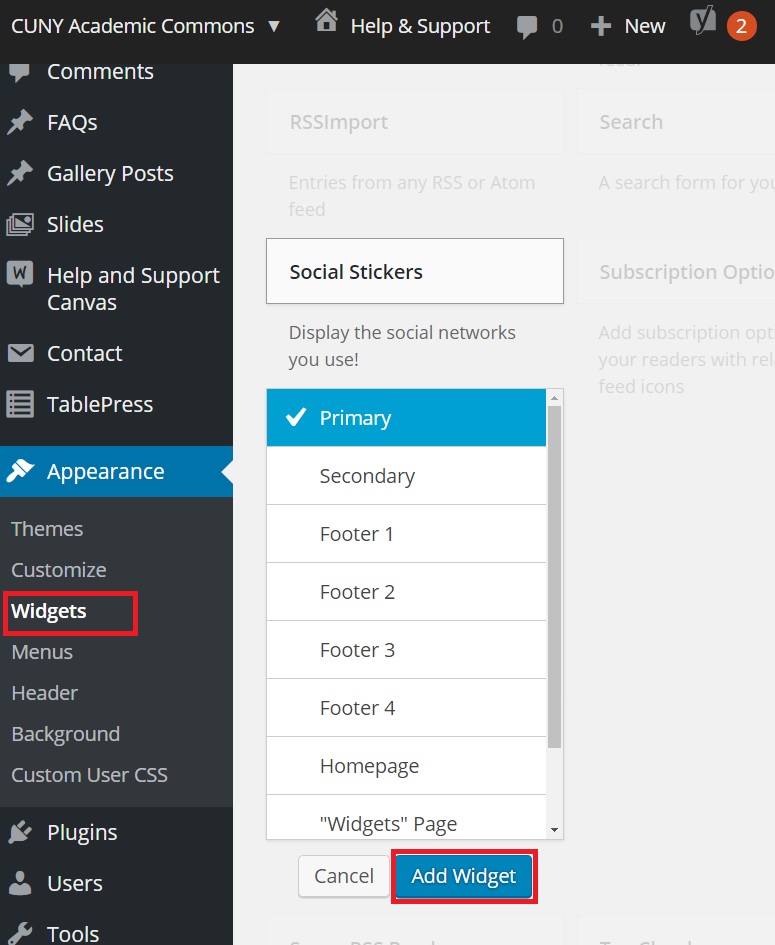
      Follow these steps to display social networks on your CUNY Academic Commons WordPress site:

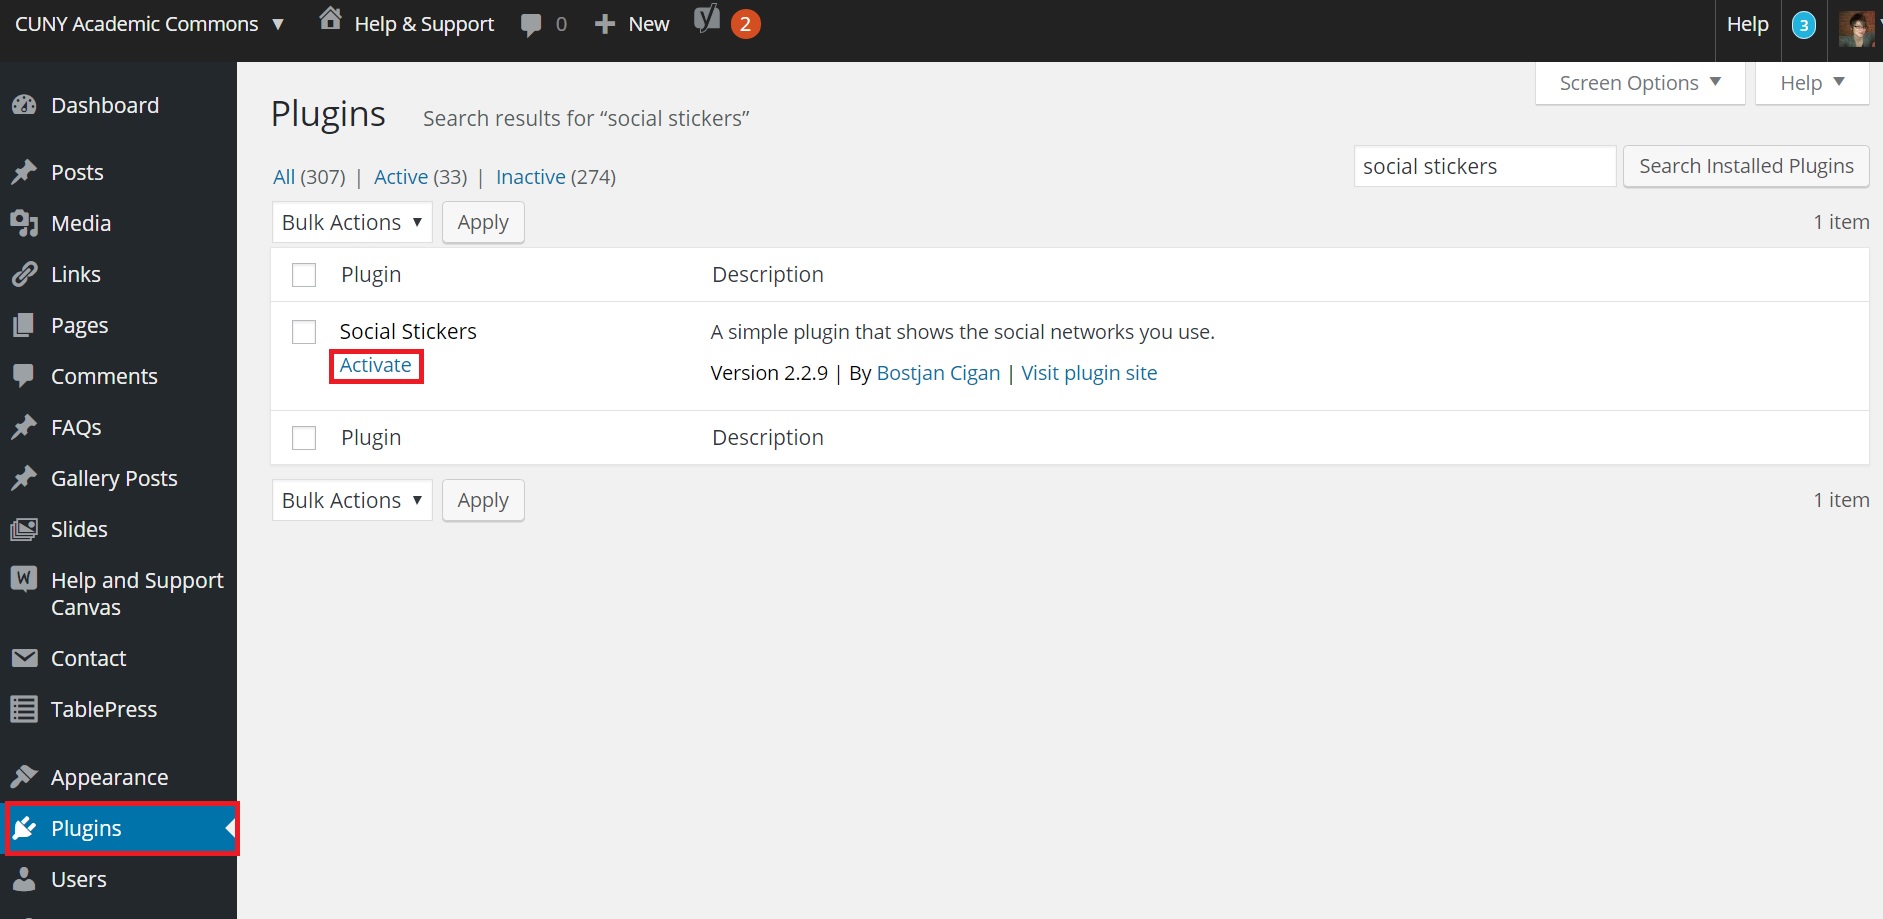
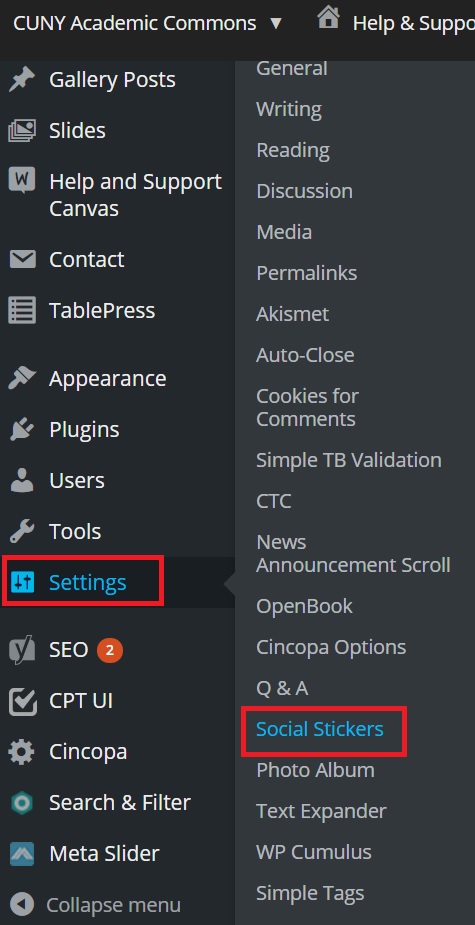
      1. Click on the “Plugins” menu in your WordPress dashboard, search for “Social Stickers” in the directory, then click “Activate” under the Social Stickers plugin.social stickers2. Customize the settings in Settings>Social Stickers (*Please note – you will need to enter your username(s) before you can pick your theme).sticer1
      2. Add the widget to one of your sidebars or footers in Appearance>Widgetswi

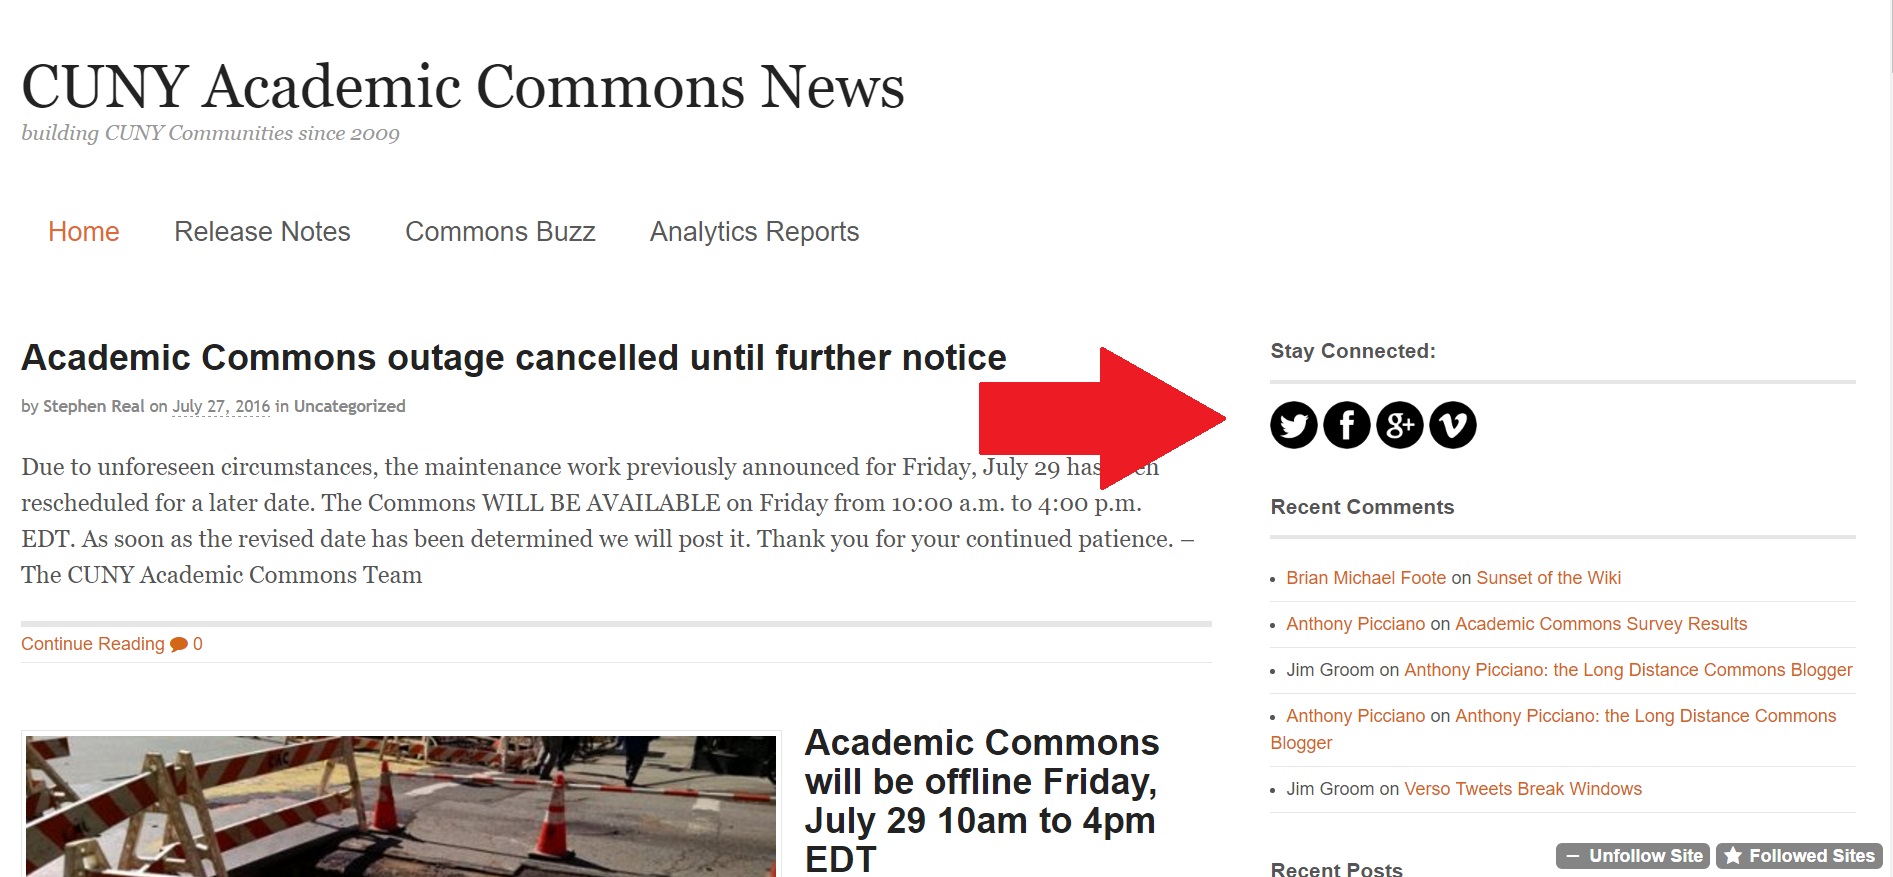
      Your social networks should now display on your site and look something like this:

      this